Playing with Mac OS X on KVM
I always wanted to have an always-on Mac OS X machine which I could run Jenkins on to build and test iOS apps. While I have an old MacBook Pro I could use, I’d rather not have another computer running 24⁄7, especially one which would receive so little use.
While OS X runs in VMWare (with some hacks) and VirtualBox, it can also run on KVM with a few patches thanks to Gabriel Somlo’s excellent work. He just updated his site around a week ago and mentions that Mountain Lion runs well. Seems like the perfect time to try it out!
Prerequisites
Patched QEMU + KVM + SeaBIOS…
Either follow the excellent instructions on Gabriel Somlo’s site to patch and compile the required components yourself, or if you happen to use Ubuntu 12.04, I’ve prepared some binaries which should speed the process along.
Using the Pre-Compiled Binaries
First, you’ll need libpixman-1-0 to run QEMU.
$ sudo apt-get install libpixman-1-0Download and unpack the binaries.
$ tar xvJf osx-kvm.tar.xz
$ cd osx-kvm
Copy and load the patched KVM modules.
$ sudo modprobe -r kvm_intel
$ sudo cp kvm-kmod/kvm*.ko /lib/modules/`uname -r`/kernel/arch/x86/kvm/
$ dmesg | tail -n1
[11987.998234] loaded kvm module (for-linus)
Blank Drive Image
You can use qemu-img to create a blank drive image or use a zvol, actual device, whatever.
$ ./bin/qemu-img create -f qcow2 mac_hdd.img 20G
Formatting 'mac_hdd.img', fmt=qcow2 size=21474836480 encryption=off cluster_size=65536 lazy_refcounts=off
Mac OS X Installation Disc Image
I’m using Mac OS X Mountain Lion 10.8.5 for this. It’s important to have a clean disk image, not a hacked osx86 image because some of the kexts on the hacked images will cause a kernel panic on boot. It’s best to use the InstallESD.dmg located inside of the Install OS X Mountain Lion.app bundle.
The image needs to be an ISO file. If you have a DMG image then you can use Disk Utility’s “Convert” feature to make an ISO image (.cdr by default, but it’s the same thing).
VNC Client
Chicken is a great VNC client for OS X. It even supports creating an SSH tunnel automatically which is very handy.
OSK Key
The AppleSMC device needs a valid OSK key to function. This key is the same in all Macs and can be easily retrieved.
For OS X users, the Mac OS X Internals website has the source code to a program which can retrieve the key. I’ve included a binary of it in the above download.
For Linux on Mac users, Gabriel Somlo’s site has a C program which can retrieve this key.
Installing
sudo bin/qemu-system-x86_64 -enable-kvm \
	-m 2048 -cpu core2duo -machine q35 \
	-smp 2 \
	-usbdevice keyboard -usbdevice mouse \
	-vga std \
	-device isa-applesmc,osk="INSERT OSK KEY HERE" \
	-bios bios-mac.bin -kernel ./chameleon_svn2360_boot \
	-device ide-drive,bus=ide.2,drive=MacHDD \
	-drive id=MacHDD,if=none,cache=none,file=./mac_hdd.img \
	-device ide-drive,bus=ide.0,drive=MacDVD \
	-drive id=MacDVD,if=none,snapshot=on,file=./mountain-lion-10.8.5.iso -boot once=d
Now connect over VNC and you should see the Chameleon boot prompt.
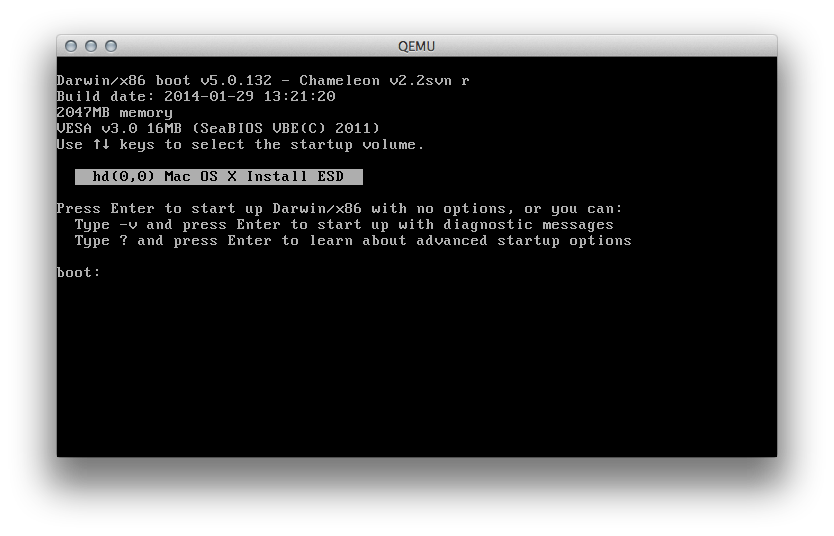
You can use -v for a verbose boot which can aid in troubleshooting. If you get a kernel panic here, make sure your OS X iso image is clean, not a hacked osx86 image.
If your terminal is filled with usb-kbd: warning: key event queue full and the keyboard doesn’t respond, just try again. While the keyboard works reliably once OS X boots, it sometimes has problems on the Chameleon boot prompt.
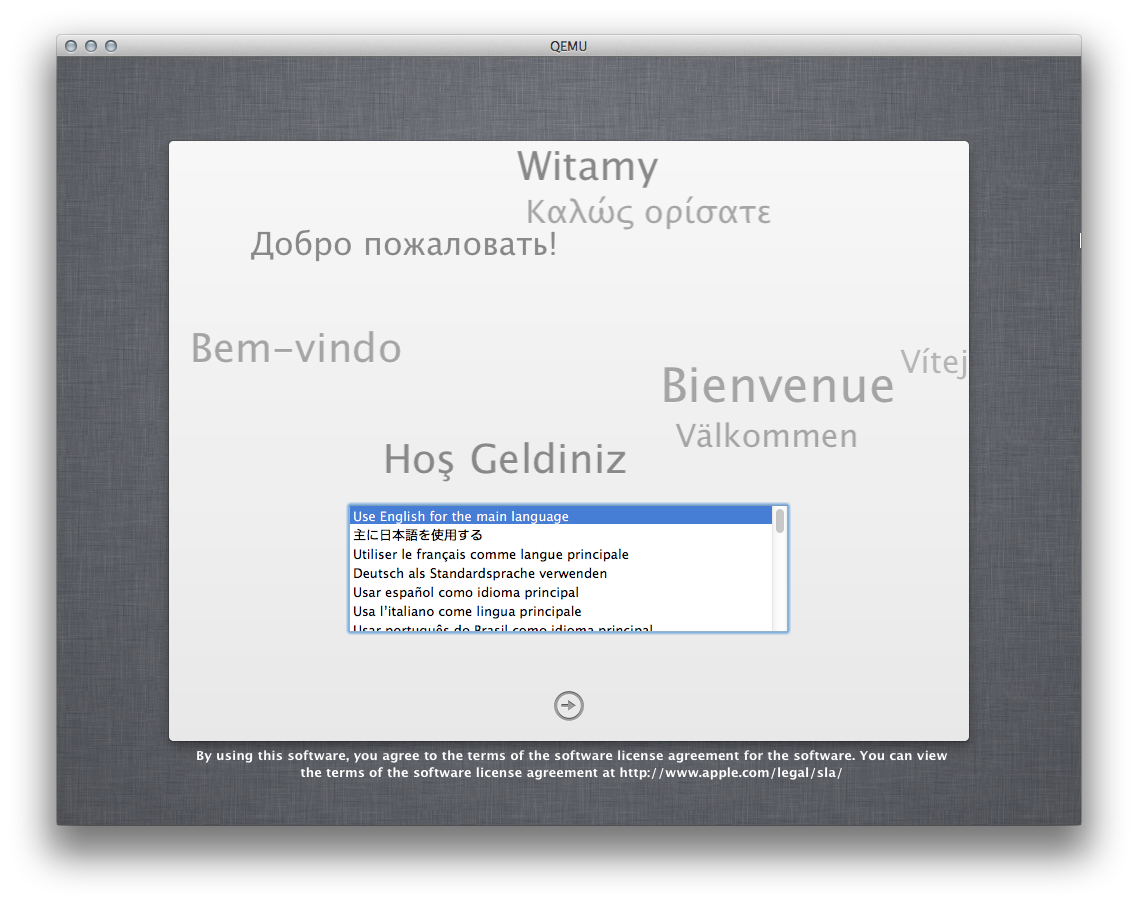
Hopefully the installer should just start right up.
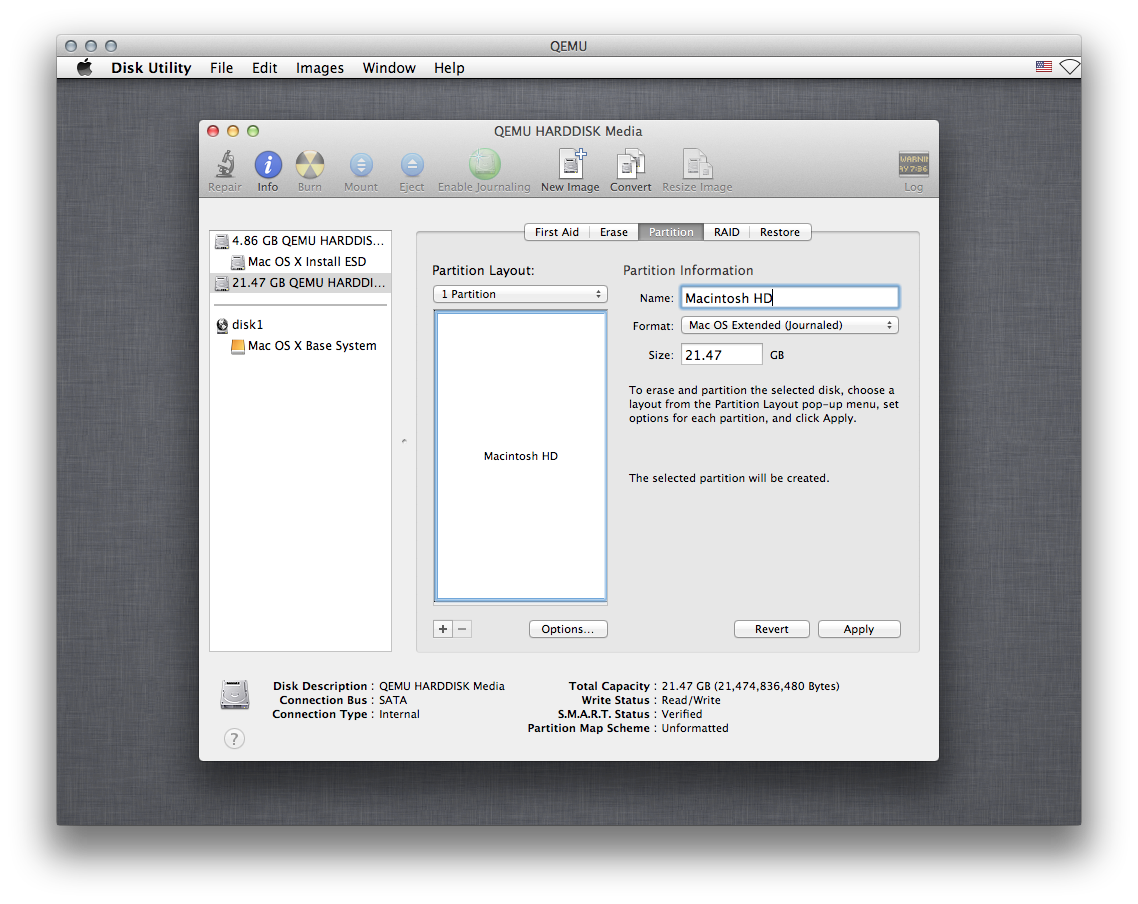
Continue with the installer and start up Disk Utility to partition your drive.
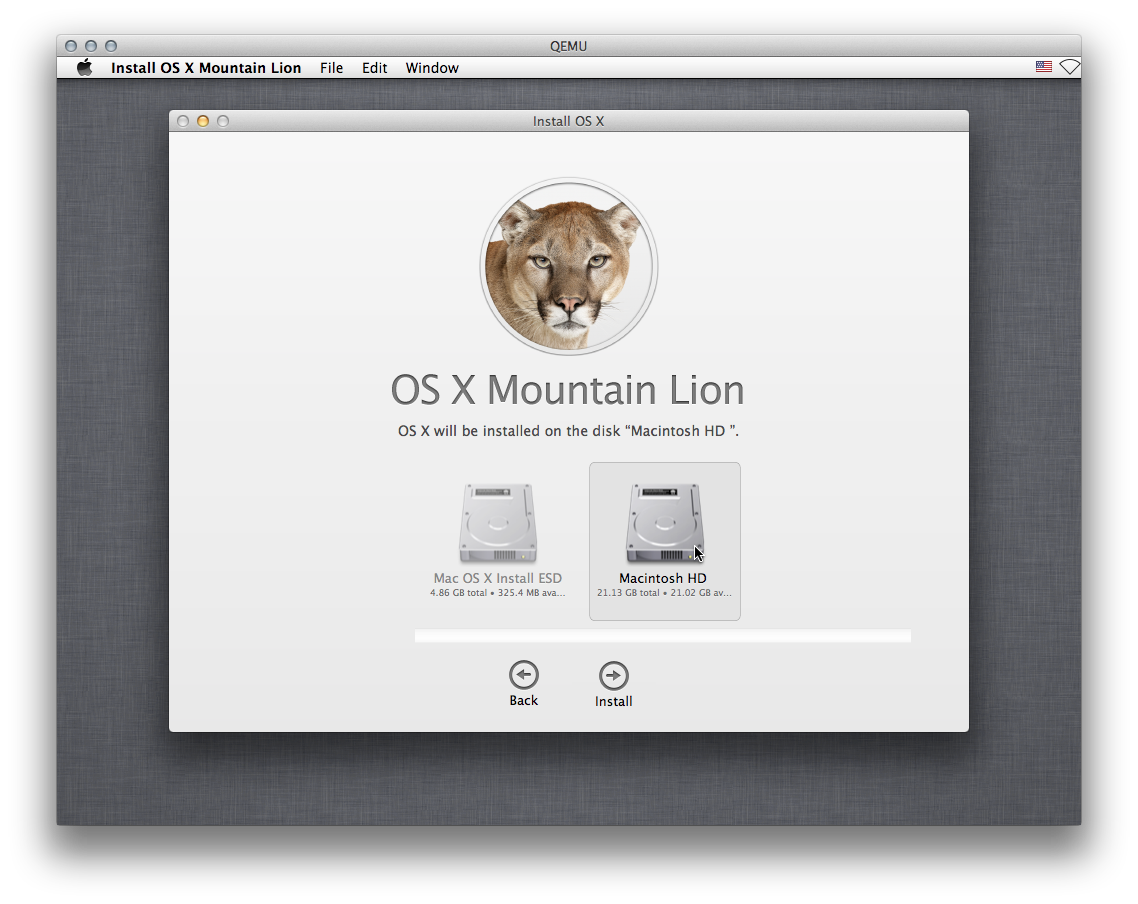
Close Disk Utility and continue with the Reinstall OS X option. Install to the disk partition you just created.
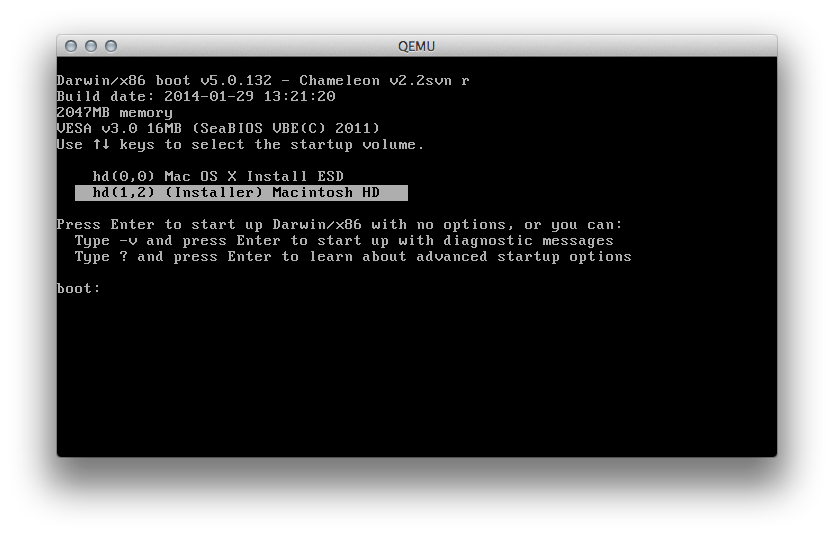
The installer will reboot and put you back on the Chameleon prompt. Choose the (Installer) Macintosh HD partition to continue with the install.
The install will continue and reboot once more. Choose the Macintosh HD drive in Chameleon again to configure the install. I skipped setting up an Apple ID and registering.
Now you should have a mostly functional Mac OS X installation!
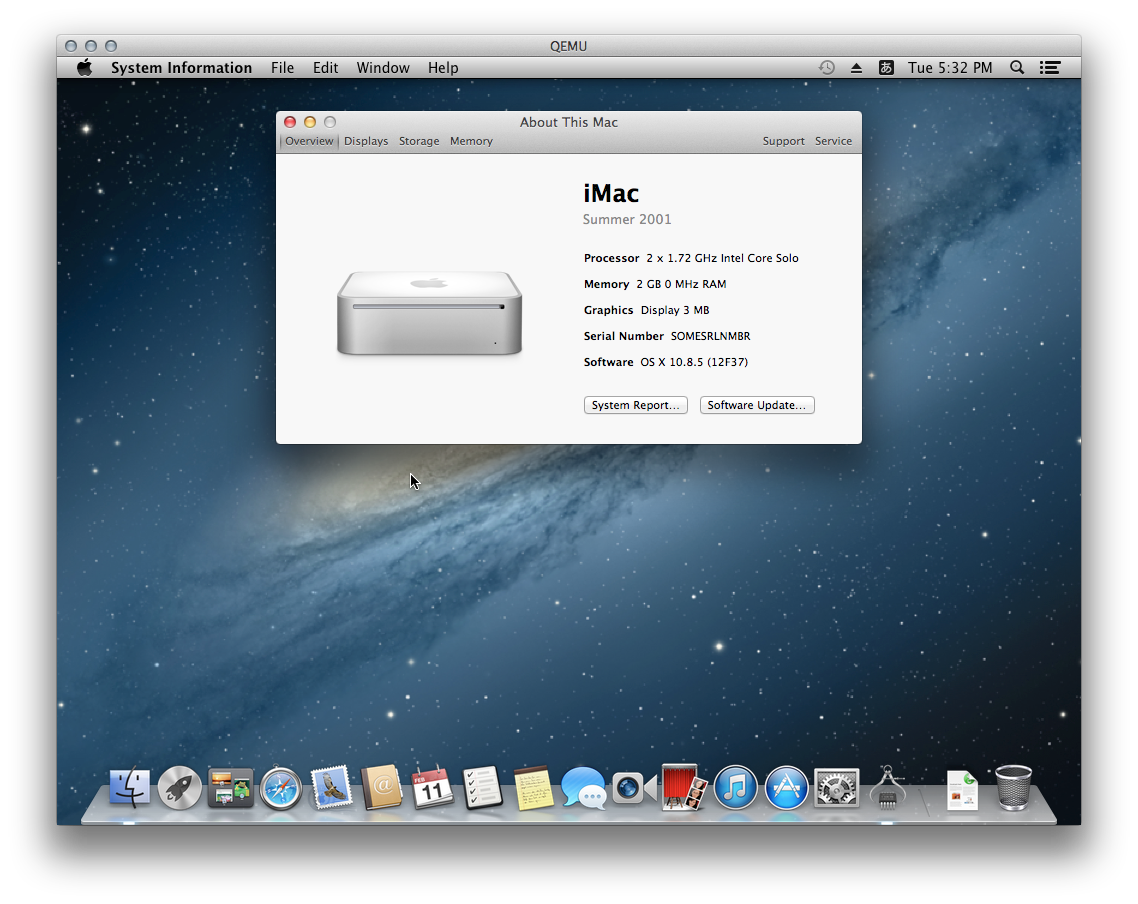
…though as you can see, it’s not exactly perfect.
Configuring
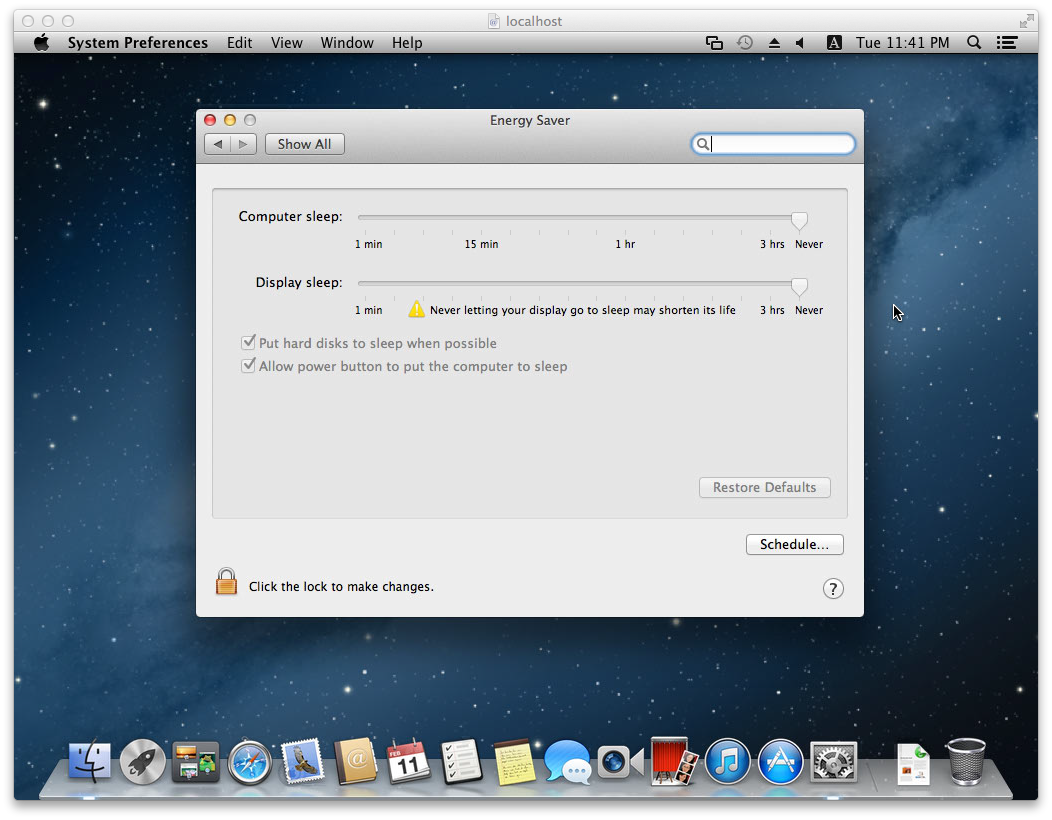
Energy Saver
Disable “Computer sleep” and “Display sleep” in the System Preferences. Resuming from sleep doesn’t work and will cause the virtual machine to lock up.
Absolute Mouse Positioning
Most KVM guests can make use of the tablet device to synchronize the position of the mouse with it’s position over the VNC window. OS X, unfortunately, does not support this device.
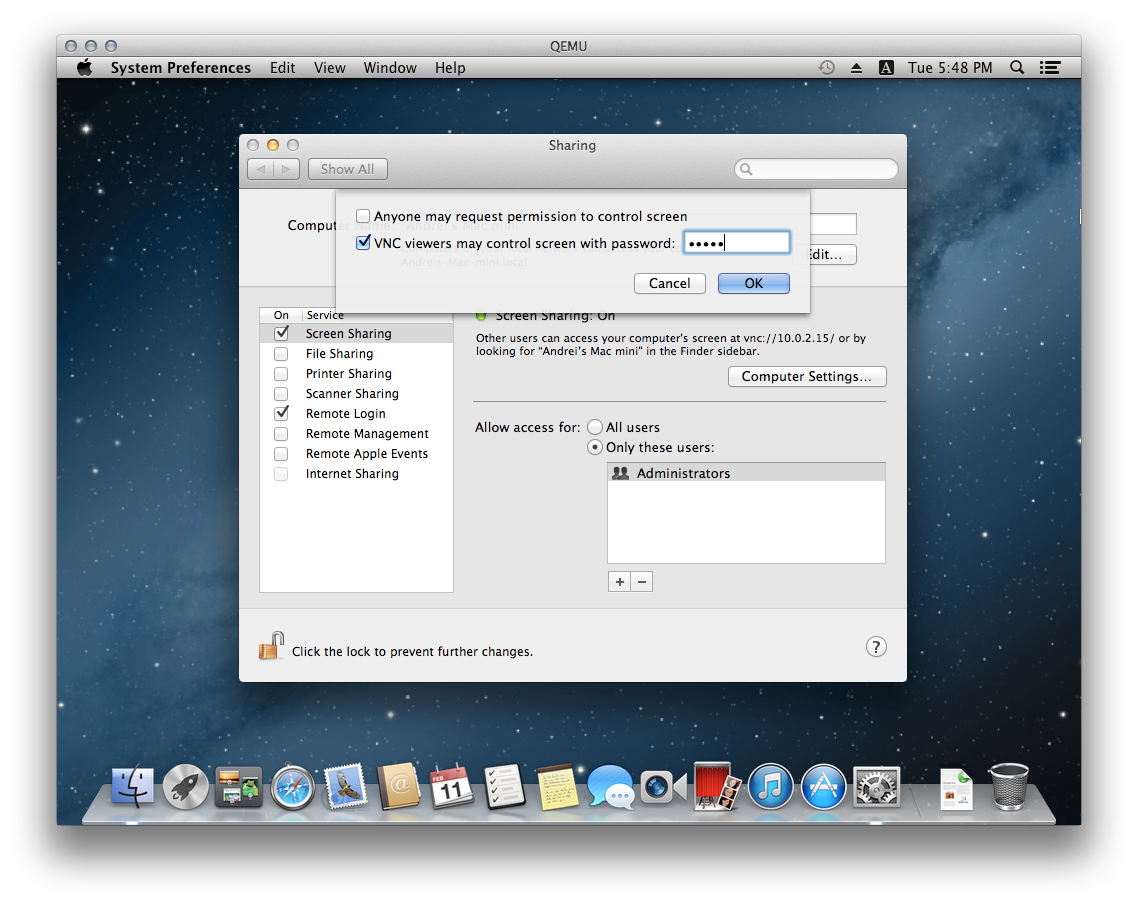
If you enable OS X’s internal screen sharing and use it in place of QEMU’s VNC server then mouse positioning works perfectly. You can allow normal VNC viewers to connect by clicking on “Computer Settings…” in the Screen Sharing options.
Networking
The patches to QEMU include fixes to make the e1000 device work under OS X. To enable it for bridged networking, add a network bridge for KVM just add something like the following to the QEMU command:
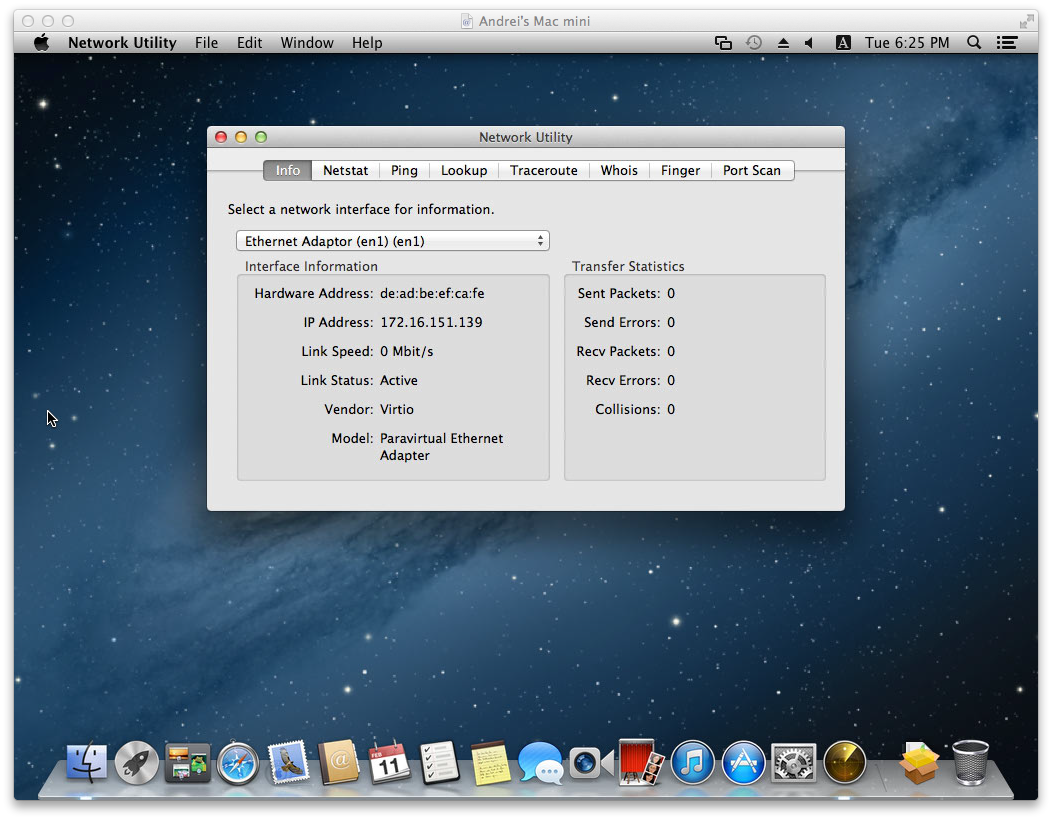
-net nic,model=e1000,netdev=net0,macaddr=DE:AD:BE:EF:CA:FE -netdev tap,id=net0Virtio
There is a virtio-net driver for Mac OS X which works great. Just install the driver, shutdown, and change the NIC model from e1000 to virtio in the QEMU command.
Display
QEMU emulates a Cirrus Logic GD5446 video card by default. Which this works fine over QEMU’s VNC server (though with a low color depth), the display glitches when using OS X’s Screen Sharing feature.
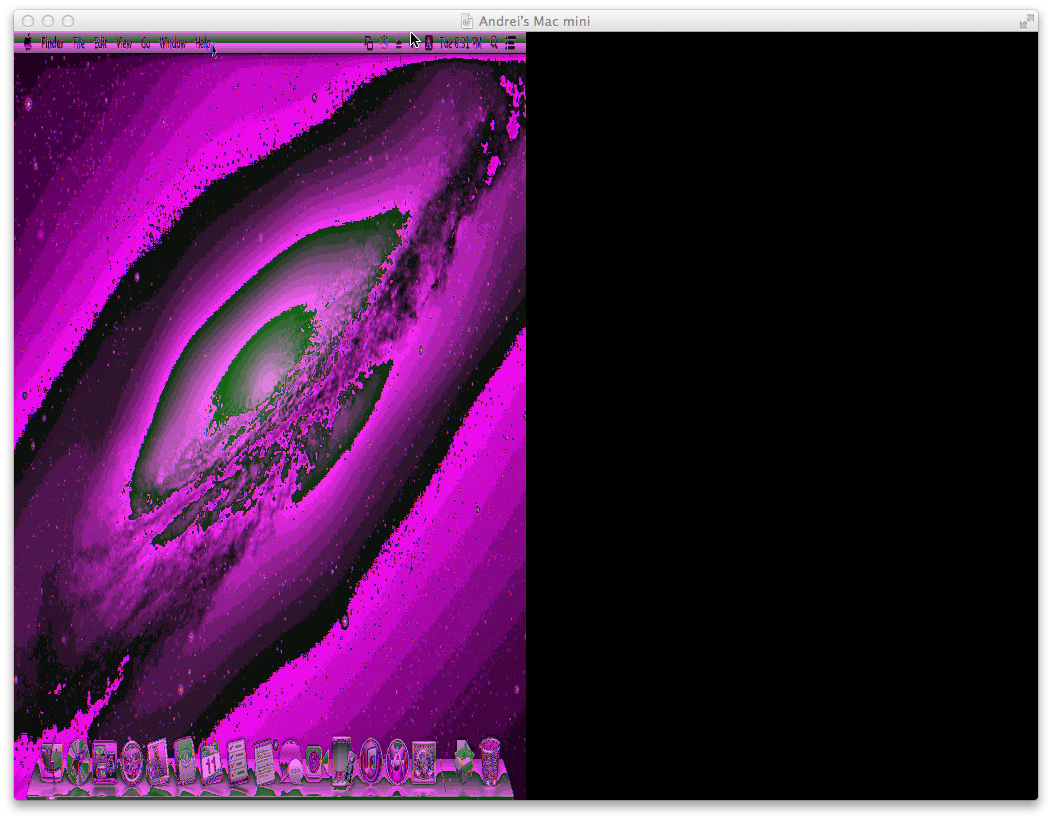
QEMU also supports the vmware video card. There’s even a VMsvga2 driver for it on OS X. However, this driver caused a kernel panic on boot so this option too fails.
The best option that I have found is to use the std video card.
Chimera
Chimera is a bootloader which was forked from Chameleon. It’s easy to install and will allow us to boot to OS X automatically and remove the -kernel argument to QEMU. Download and install Chimera to get started.
org.chameleon.boot.plist
To automatically boot into OS X without needing to press enter at the prompt, edit (create) the org.chameleon.boot.plist file at /Extra/org.chameleon.boot.plist. A simple example to automatically boot would be:
<?xml version="1.0" encoding="UTF-8"?>
<!DOCTYPE plist PUBLIC "-//Apple//DTD PLIST 1.0//EN" "http://www.apple.com/DTDs/PropertyList-1.0.dtd">
<plist version="1.0">
<dict>
	<key>Timeout</key>
	<string>5</string>
	<key>EthernetBuiltIn</key>
	<string>Yes</string>
	<key>PCIRootUID</key>
	<string>1</string>
</dict>
The EthernetBuiltIn and PCIRootUID keys fix the “Your device or computer could not be verified. Contact support for assistance.” error when logging in to the App Store.
smbios.plist
There’s another configuration file for Chimera, /Extra/smbios.plist. While I haven’t found a need to edit it personally (the App Store works fine without it), it can be used to change what model Mac the system identifies itself as as well as its serial number. There’s plenty of documentation as well as apps which help you edit the file.
Running
After the above steps, here is the command I use to boot the virtual machine:
sudo bin/qemu-system-x86_64 -enable-kvm \
	-m 2048 -cpu core2duo -machine q35 \
	-smp 2 \
	-usbdevice keyboard -usbdevice mouse \
	-vga std \
	-device isa-applesmc,osk="INSERT OSK KEY HERE" \
	-bios bios-mac.bin \
	-device ide-drive,bus=ide.2,drive=MacHDD \
	-drive id=MacHDD,if=none,cache=none,file=./mac_hdd.img \
	-net nic,model=virtio,netdev=net0,macaddr=DE:AD:BE:EF:CA:FE -netdev tap,id=net0
Conclusion
Overall, I’m very satisfied with running OS X on KVM. It performs more than well enough for my needs, seems to be stable, and doesn’t seem to waste excessive CPU cycles on the host.